
How to Sear Meat for a Deep Brown Crust
Why seared meat browns or turns grey, and how to get a deep crust every time: dry the surface, heat the pan, leave room, and wait for it to release.
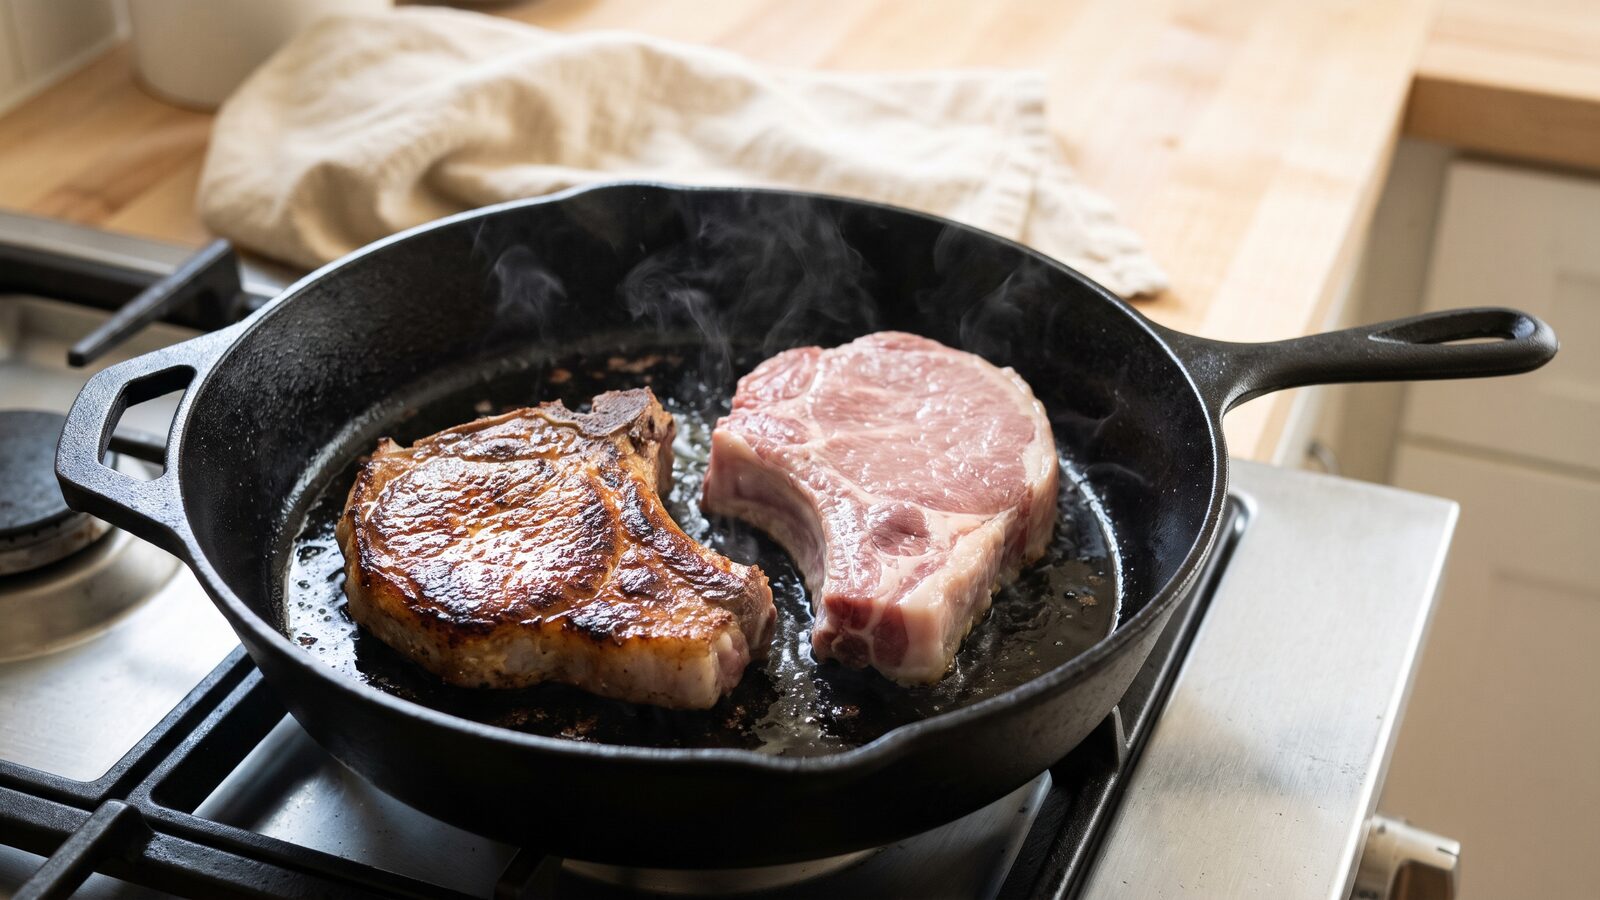
To sear meat well, start with a dry surface, a pan that is fully hot before the meat goes in, and enough space between the pieces. Then leave each piece alone until it lets go of the pan by itself. Get those four things right and you get a deep brown crust every time, whether it is a pork chop, a steak, chicken thighs or beef for a stew.
What searing does
The brown crust comes from the Maillard reaction: proteins and sugars on the surface of the meat react under high heat and form hundreds of new flavour and aroma compounds. It only gets going well above the boiling point of water, at roughly 300°F (150°C) and up.
That one fact explains almost every searing problem. As long as there is water on the surface, the surface cannot get much hotter than 212°F (100°C), because the heat goes into boiling the water off. Wet meat, a cool pan or a crowded pan all mean the meat sits in its own steam, turns grey and never browns.
Searing does not "seal in the juices", a claim you will still see in old cookbooks. The crust is not waterproof, and seared meat keeps losing moisture as it cooks. You sear for flavour and texture. Juiciness comes from not overcooking.
What you need
- A heavy pan. Cast iron (kept well seasoned, so meat releases cleanly), carbon steel or stainless steel with a thick base. Heavy metal stores heat, so the pan does not cool down much when cold meat lands in it. Most nonstick pans are not made for the high, dry heat a good sear needs; check the maker's guidance for yours.
- A neutral oil with a high smoke point. Canola, sunflower, rice bran or refined avocado oil work well. Peanut oil works too, but it is a common allergen. Butter and extra-virgin olive oil burn at searing heat, so save butter for basting near the end.
- Tongs and paper towels. And an instant-read thermometer, because a great crust tells you nothing about the inside.
How to sear, step by step
- Dry the meat. Pat every surface dry with paper towels just before cooking. For a crisper crust, salt the meat and leave it uncovered on a rack in the fridge for a few hours or overnight; the surface dries out as it rests. It is the same trick that gives a roast chicken crisp skin.
- Season. Salt right before cooking or well ahead (40 minutes or more). Salting 5 to 30 minutes ahead draws moisture to the surface that has not yet been reabsorbed, which is the worst moment to start a sear.
- Heat the pan first, then the oil. Heat the empty pan over medium-high heat for 2–4 minutes, depending on its weight. Add just enough oil to coat the bottom in a thin layer, about 1 tablespoon (15 ml) for a 12-inch (30 cm) pan. When the oil shimmers and moves like water, the pan is ready. If you are unsure, our guide to telling when a pan is hot enough shows the water-drop test.
- Lay the meat in, away from you. Place each piece down so it falls away from you, to avoid splashes. It should sizzle loudly at once. A weak hiss means the pan was not hot enough; take the meat out and wait.
- Leave it alone. Do not move, press or peek for the first few minutes. Meat sticks at first, then releases once a crust has formed. If it resists when you lift a corner with tongs, give it another minute.
- Turn once the crust is deep brown. For a 1-inch (2.5 cm) pork chop or steak this usually takes 3–4 minutes per side over medium-high heat. Turn and sear the second side the same way. Sear fatty edges by holding the piece on its side with tongs for a minute.
- Finish to the right temperature. Thin cuts may be done once both sides are seared. Thicker cuts can finish over lower heat or in a 400°F (200°C) oven. Check the centre with a thermometer and use the USDA safe minimums: 145°F (63°C) with a 3-minute rest for whole cuts of beef, pork, veal and lamb; 160°F (71°C) for ground meat; and 165°F (74°C) for all poultry.
Give each piece room
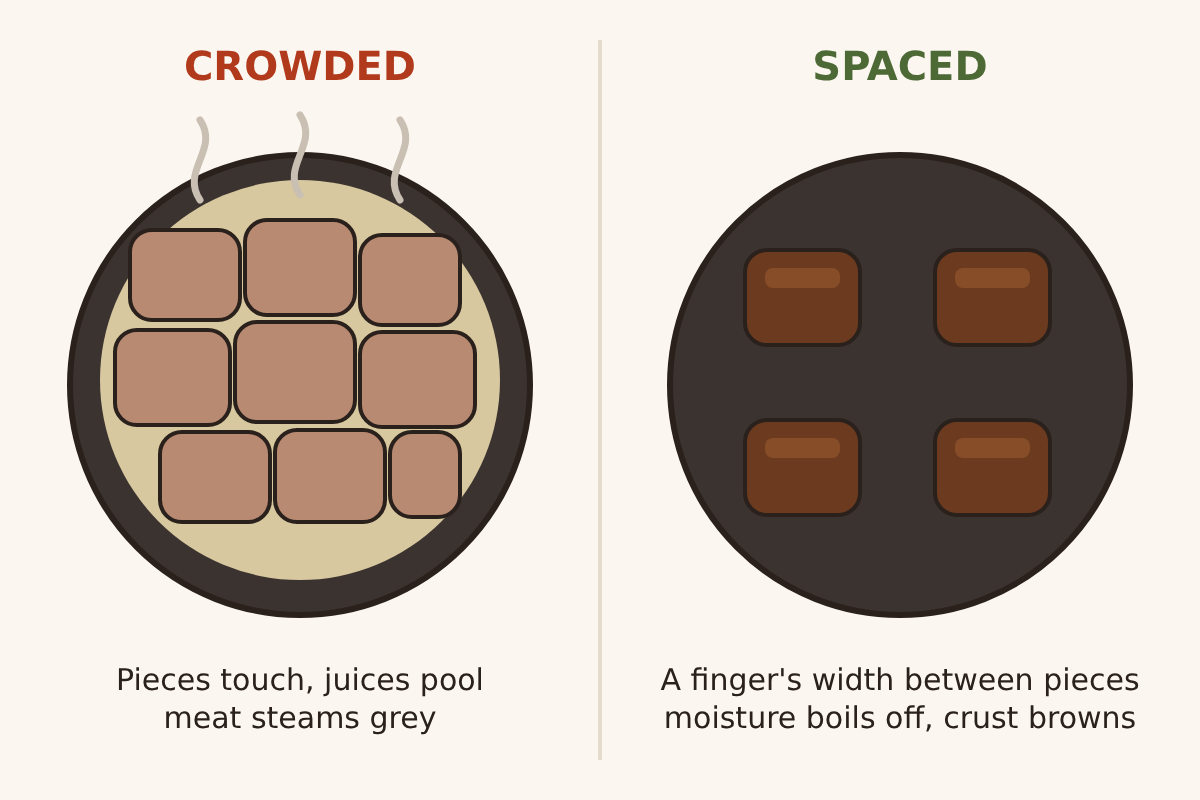
Crowding is the most common reason a sear fails. Pieces packed edge to edge release more moisture than the pan can boil off, the liquid pools, and everything steams. Leave at least a finger's width between pieces, and if they do not fit, cook in batches. It takes a few more minutes and saves the dish.
The same goes for ground beef. In a weeknight beef and bean chili, spreading the beef in one layer and leaving it for a few minutes before breaking it up is what gives the chili its deep, meaty base.
Use the brown bits
The browned residue left in the pan, called fond, is concentrated flavour. Once the meat is out, pour off most of the fat, add a splash of liquid (stock, wine or water, about ½ cup / 120 ml) and scrape the bottom with a wooden spoon as it bubbles. Reduce it by about half and you have a quick pan sauce. If the fond looks black rather than brown, it has burned and will taste bitter; skip the sauce that time and use a little less heat next round.
Common problems and fixes
- Grey, wet meat: surface was wet, pan not hot enough, or pieces crowded. Dry the meat, heat the pan longer, cook in batches.
- Meat stuck and tore: it was moved too soon. Wait until it releases on its own.
- Lots of smoke: too much oil, an oil with a low smoke point, or heat that is too high for the pan. Turn on the extractor fan, use a thin film of a refined oil and drop the heat a notch.
- Burnt outside, raw inside: heat too high for the thickness. Sear, then finish thick cuts gently over lower heat or in the oven.
- Uneven browning: the pan is bigger than the burner, so the edges stay cooler. Keep pieces over the hottest part, or move them around between turns.
Safety
Hot oil can spatter and ignite. Keep a lid nearby. If oil catches fire, turn off the heat and slide the lid over the pan; never pour water on an oil fire. Keep children and pets away from the stove while you sear, and wipe up spills so the floor is not slippery.
