
Dry Brine vs Wet Brine: Which Is Better for Turkey?
Wet brining gets the headlines, but salt and two days in the fridge give you crisper skin, better gravy and no bucket of raw-turkey water. How each works, the salt amounts, and the turkeys you should never brine.
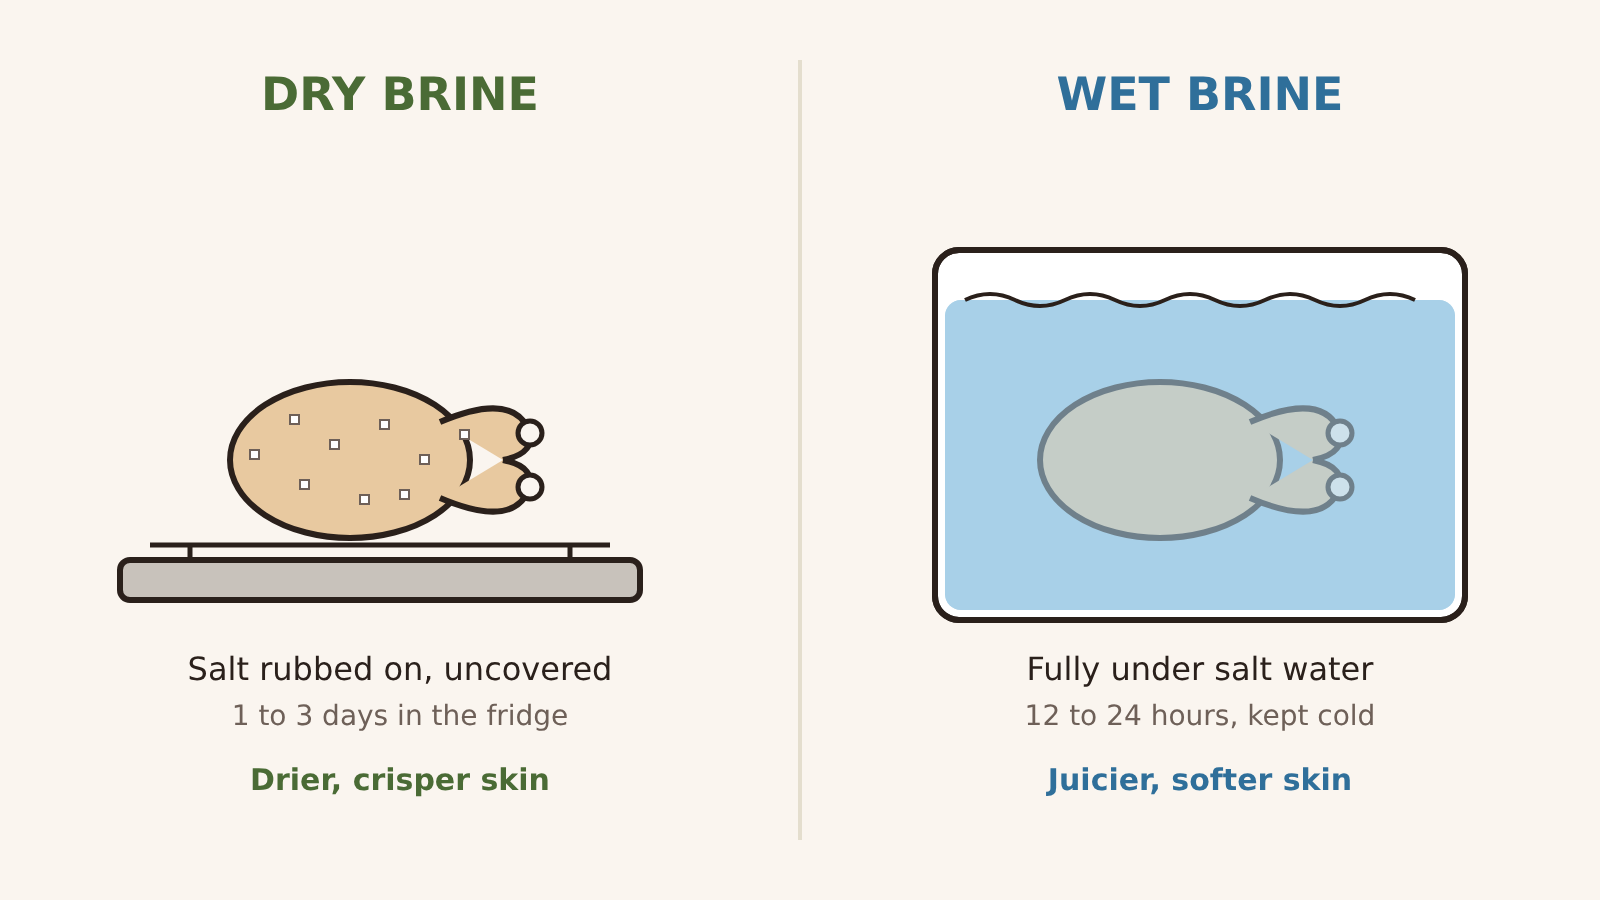
For most home cooks, dry brining is the better choice for a Thanksgiving turkey. Rubbing salt over the bird and leaving it uncovered in the fridge for 1 to 3 days seasons the meat all the way through, helps it hold on to moisture, and leaves the skin dry enough to roast up crisp. A wet brine, soaking the turkey in salt water for 12 to 24 hours, gives slightly juicier meat but softer skin, diluted pan drippings and a big container of raw-poultry water to keep cold.
Both work. Here is what each one does, how to do it, and when you should not brine at all.
What brining does
Salt does two useful things to meat. It seasons it, and over time it changes the muscle proteins so they hold on to more of their own moisture as they cook. A brined turkey loses less juice in the oven, so the breast is more forgiving if it runs a few degrees past done.
The two methods get the salt in differently:
- Dry brine: salt on the skin draws out a little moisture, dissolves in it, and that salty liquid is slowly absorbed back into the meat. Over a day or more, the salt spreads deep into the muscle. Meanwhile the uncovered skin dries out in the cold fridge air.
- Wet brine: the turkey sits in salt water. Salt moves into the meat, and so does some of the water, so the bird gains weight. That extra water is where the extra juiciness comes from, and also why the flavour is a little diluted and the skin stays soft.
Dry brine vs wet brine at a glance
| Dry brine | Wet brine | |
|---|---|---|
| Time | 1 to 3 days | 12 to 24 hours |
| Fridge space | The turkey on a tray | A container or brining bag big enough to submerge it |
| Skin | Dry, browns and crisps well | Wet, browns less, softer |
| Meat | Seasoned, juicy, concentrated flavour | Seasoned, the juiciest, slightly watery flavour |
| Drippings | Normal, good for gravy | Salty; season the gravy carefully |
| Mess | Low | Gallons of raw-poultry water to handle and pour away |
How to dry brine a turkey
- Start with a thawed turkey, 1 to 3 days before you roast it. Plan your thawing time around this; a 16-pound (7.3 kg) bird takes 4 to 5 days in the fridge, and our guide on how long to thaw a turkey has a schedule by weight.
- Measure the salt by weight if you can. Use about 1 tablespoon (9 g) of Diamond Crystal kosher salt for every 4 to 5 pounds (about 2 kg) of turkey. For a 15-pound (6.8 kg) bird, that is about 3 tablespoons (27 g). Morton kosher salt is denser, so use about half the volume (1½ teaspoons per 4 to 5 pounds); with fine table salt, use a little less than half.
- Salt the whole bird. Pat it dry. Sprinkle salt evenly all over, a little more on the thick breast and thighs, and some inside the cavity. If you like, mix in black pepper, dried herbs or grated citrus zest. Loosen the breast skin with your fingers and rub some of the salt directly onto the meat.
- Refrigerate uncovered. Set the turkey on a rack over a rimmed tray, or straight in its roasting pan, on the bottom shelf of the fridge. Leave it uncovered so the skin dries; it will look tight and slightly translucent by day two, which is what you want.
- Roast without rinsing. The salt has been absorbed. Rinsing would wet the skin you just dried and spread raw turkey juices around the sink. Rub the skin with butter or oil and roast as usual; see how to roast a turkey for the times and temperatures.
Even 24 hours makes a noticeable difference. Three days is better still for a large bird.
How to wet brine a turkey
- Make the brine. Dissolve about 140 g (5 oz) of salt in 1 gallon (3.8 L) of water. By volume that is 1 cup of Diamond Crystal kosher salt, a generous ½ cup of Morton kosher salt, or a scant ½ cup of table salt; brands differ so much that weight is the reliable measure. Add ½ cup (100 g) of sugar and aromatics if you like. Heating part of the water helps the salt dissolve; then add ice or cold water and chill the brine completely before the turkey goes in.
- Submerge the turkey. Use a brining bag inside a pot, a clean food-safe bucket or a cooler. You will need enough brine to cover the bird, usually 2 to 3 gallons (7.5 to 11.5 L) for a large turkey, so scale the recipe up.
- Keep it cold, 12 to 24 hours. The USDA's advice is simple: brine the turkey in the refrigerator and never leave it at room temperature. If it will not fit in the fridge, a cooler works only if you can keep the brine at 40°F (4°C) or below the whole time, which means checking it with a thermometer and adding frozen gel packs in sealed bags. Do not go much beyond 24 hours; the meat starts to turn spongy and too salty.
- Drain and dry. Discard the brine. Pat the turkey dry very thoroughly. For better skin, set it uncovered in the fridge for several hours or overnight before roasting.
- Watch the drippings. They will be salty, so taste before adding salt to your gravy. Our make-ahead turkey gravy is built from wing stock, which lets you add drippings to taste rather than relying on them.
When not to brine
Read the label first. Do not brine a turkey that is already salted:
- Kosher turkeys are salted as part of the koshering process.
- "Enhanced", "self-basting" or "basted" turkeys, and many frozen supermarket birds, have been injected with a salt solution. The label lists it, often as a percentage of "solution". Brining one of these gives you salty meat.
Turkey breast and pieces can be brined too, for less time than a whole bird, since the salt has less distance to travel.
Food safety for either method
- Keep the turkey at 40°F (4°C) or below the whole time it brines.
- Keep it on the bottom shelf, on a tray, away from ready-to-eat food.
- Wash hands, surfaces and anything the raw turkey touched with hot soapy water.
- Brining does not change how you check doneness. The turkey is done when the breast, the innermost thigh and the innermost wing all reach 165°F (74°C).
Which should you choose?
Choose dry brining if you want crisp skin, have limited fridge space, or simply want the easier job. Choose wet brining if you want the juiciest possible breast meat and have room to keep several gallons of brine cold. If you are cooking for the first time, dry brining has fewer ways to go wrong.
