
Chewy Chocolate Chip Cookies
Thick chocolate chip cookies with crisp golden edges and soft, chewy centres: melted butter, extra brown sugar and a yolk, plus the visual cue that tells you when to pull them.
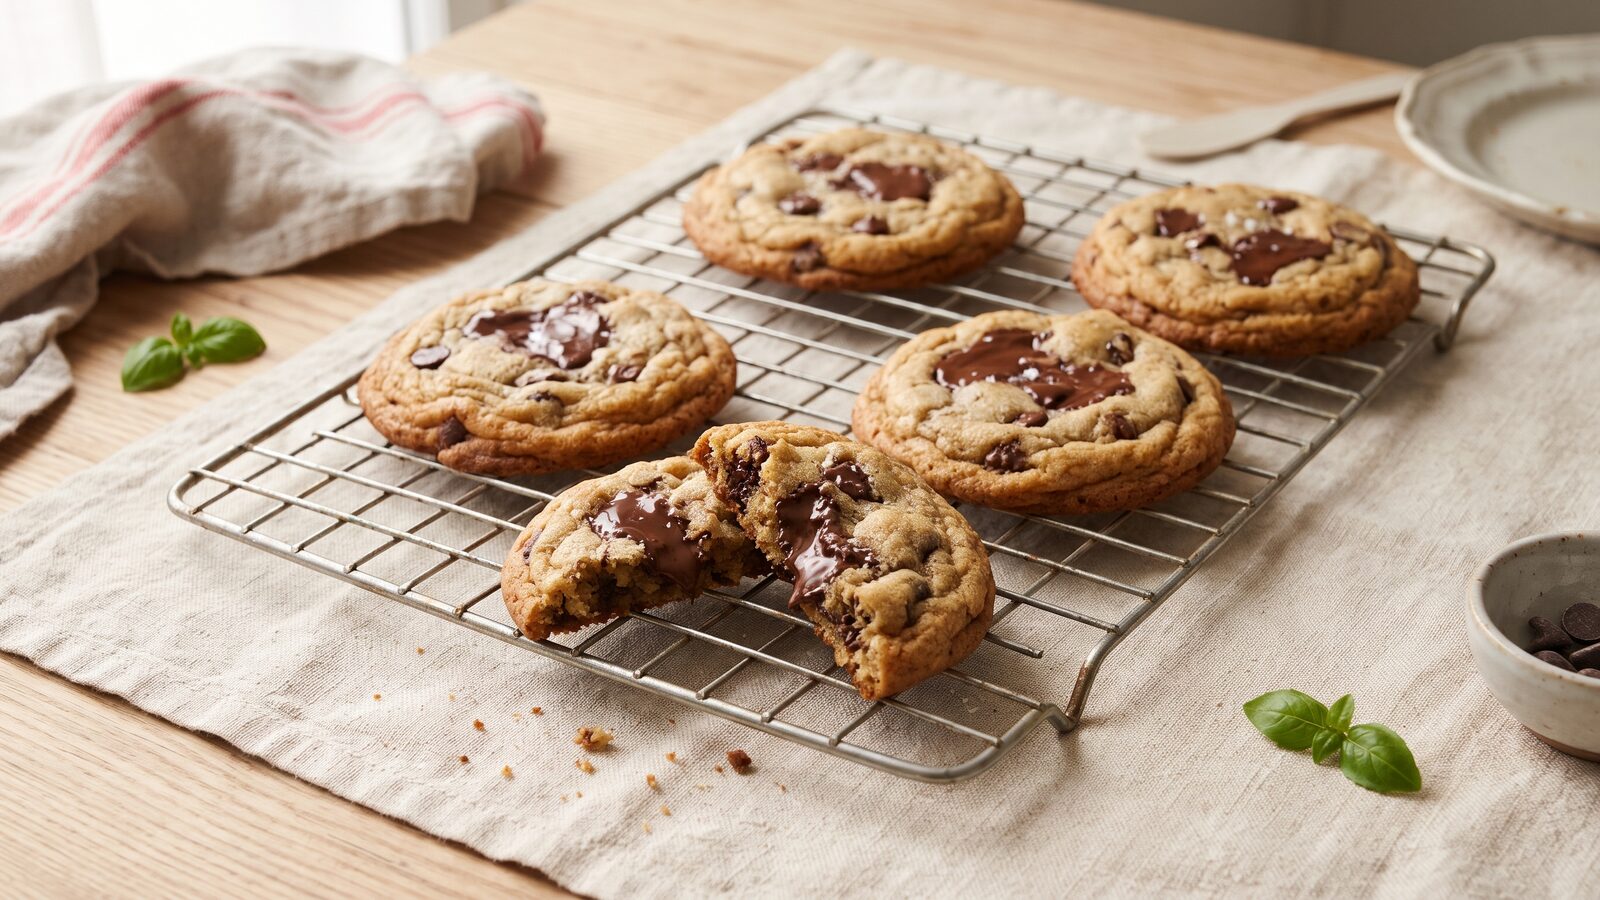
These chocolate chip cookies come out thick, with crisp golden edges and soft, chewy middles that stay chewy for days. Three choices get you there: melted butter, more brown sugar than white, and an extra egg yolk. The fourth is the one most people miss. Take them out of the oven while the centres still look underdone.
Makes: about 18 cookies · Prep: 15 minutes, plus 30 minutes chilling · Bake: 10–12 minutes per tray · Oven: 350°F (175°C)
Allergens: contains gluten (flour), dairy (butter) and eggs. Chocolate chips often contain milk and soy, so check the label. There are no nuts in the recipe. Swaps are below.
Ingredients
- ¾ cup (170 g) unsalted butter
- 1 cup (200 g) packed light brown sugar
- ½ cup (100 g) granulated sugar
- 1 large egg plus 1 large egg yolk, at room temperature
- 2 teaspoons (10 ml) vanilla extract
- 2¼ cups (280 g) all-purpose flour
- 1 teaspoon (6 g) baking soda
- ¾ teaspoon (4 g) fine salt
- 1½ cups (255 g) semisweet chocolate chips or chopped chocolate
Weigh the flour if you can. If you use cups, spoon the flour into the cup and level it, the same way as for one-bowl banana bread. A scooped cup can hold 20 to 30 grams more, and extra flour gives you a dry, cakey cookie that barely spreads.
Why these cookies are chewy
Chewiness comes from moisture and sugar. Brown sugar contains molasses, which holds on to water, so a dough heavy in brown sugar bakes into a softer, bendier cookie than one made mostly with white sugar. Melting the butter instead of creaming it means less air gets beaten in, so the cookies come out dense and chewy rather than light and cakey. The extra yolk adds fat and richness without the extra water of a whole egg.
Chilling the dough for half an hour firms up the butter. Cold dough spreads more slowly in the oven, so the edges set before the cookie flattens out, and you get a thicker cookie with a more distinct crisp rim.
Steps
- Melt the butter. Melt it in a small pan over low heat or in the microwave, then let it cool for about 5 minutes. It should be warm, not hot, or it will start to cook the egg.
- Mix the sugars and butter. In a large bowl, whisk the melted butter with both sugars for about 30 seconds, until smooth and glossy with no lumps of brown sugar.
- Add the egg, yolk and vanilla. Whisk them in until the mixture looks thick and shiny, about 30 seconds more.
- Combine the dry ingredients. In a second bowl, whisk the flour, baking soda and salt together. Mixing the soda into the flour first spreads it evenly, so no cookie gets a bitter, soapy pocket.
- Fold in the flour. Tip the flour mixture into the wet bowl and fold it in with a spatula just until no dry flour shows. Stirring past that point develops gluten and makes the cookies tough, for the same reason that overmixed batter makes flat, rubbery pancakes. Fold in the chocolate.
- Chill. Cover the bowl and refrigerate the dough for 30 minutes. You can leave it for up to 2 days; the flavour deepens a little and the cookies brown more evenly.
- Heat the oven. Heat the oven to 350°F (175°C) with a rack in the middle. Line two baking sheets with parchment.
- Shape. Scoop the dough into balls of about 3 tablespoons (50 g) each. Leave about 2½ inches (6 cm) between them, since they spread. Eight or nine fit on a standard half-sheet pan.
- Bake one tray at a time. Bake for 10–12 minutes, until the edges are set and golden but the centres still look pale, puffy and slightly wet. This is the step that decides whether they are chewy.
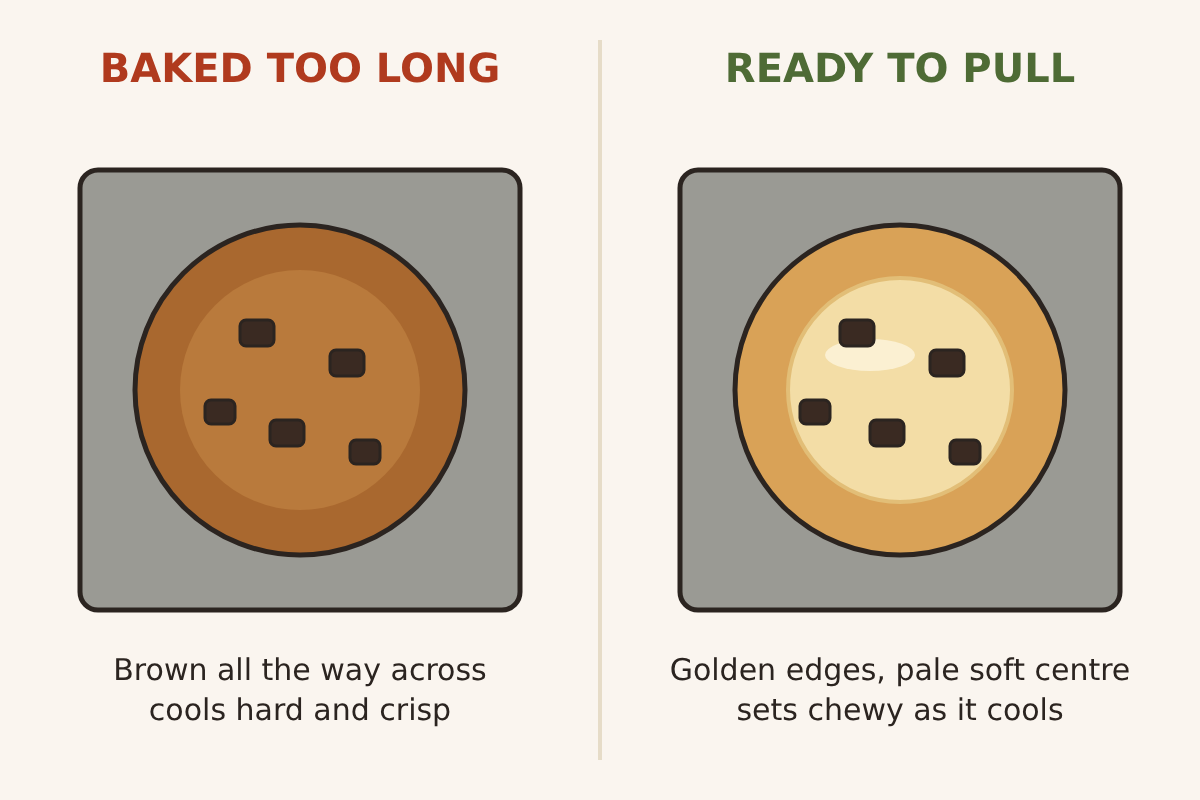
- Cool on the sheet. Leave the cookies on the baking sheet for 5 minutes. The heat of the pan finishes cooking the centres while they firm up enough to move. Then slide them onto a rack to cool completely, or eat one warm.
Bake the next tray on a cooled sheet. Dough put on a hot pan starts melting before it reaches the oven and spreads thin.
Swaps and allergens
- Dairy-free: use the same weight of a plant-based butter sold in sticks, and dairy-free chocolate. Tub spreads contain more water and make the cookies spread thin.
- Gluten-free: use a 1-to-1 gluten-free flour blend that contains xanthan gum, by weight. The cookies spread a little less and are slightly more crumbly.
- Egg-free: the yolk does real work here, holding the dough together and keeping it chewy. We do not have a swap we can recommend for this recipe.
- Soy-free: pick a chocolate made without soy lecithin; the label will say.
- Nuts: if you want them, fold in ¾ cup (90 g) chopped toasted walnuts or pecans with the chocolate and mark the cookies as containing nuts for anyone you serve.
Do not eat the raw dough. The FDA advises against eating raw dough because both raw flour and raw eggs can carry bacteria that only baking kills.
Storage and reheating
Keep cooled cookies in an airtight container at room temperature for up to 4 days. Tucking a slice of sandwich bread into the container helps them stay soft, since the cookies draw moisture from it.
To freeze, shape the dough into balls, freeze them on a tray until hard, then move them to a freezer bag for up to 3 months. Bake straight from frozen at the same temperature, adding 1–2 minutes. Baked cookies also freeze well for up to 3 months; thaw them at room temperature, and if you like them warm, give them 3–4 minutes in a 300°F (150°C) oven.
If something went wrong
- They spread flat and thin: the butter was too hot, the dough was not chilled, or the baking sheet was still warm from the last batch.
- They are puffy and cakey: too much flour, usually from scooping it with the measuring cup.
- They are hard once cooled: they baked too long. Next time, take them out when the middle still looks a minute or two underdone.
